| |
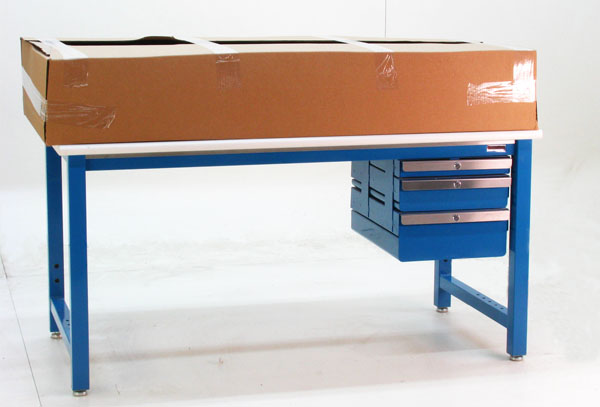
1. Place packaged bench on top of elevated surface with seams on top. |
 |
| |
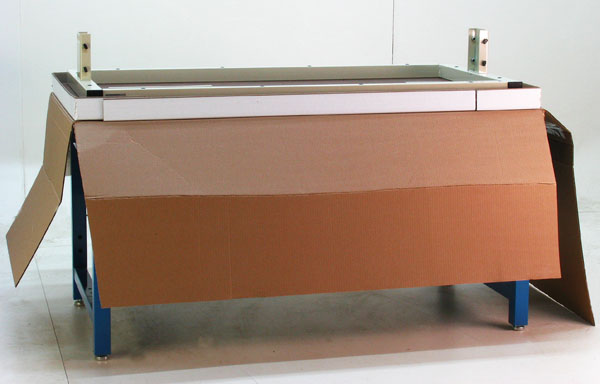
2. Cut tape and fold down flaps. Do not remove cardboard.
Notes: 1. We package the legs with the top on longer tables. Smaller tables will have the leg sections in a a second box.
2. You will notice that there are only four parts to assemble. We have factory assembled the tops to the frame, inserted all other fasteners so there is no package of assorted fasteners to sort out and count.
This allows for easy assembly while reducing freight costs by about 65%.
|
 |
| |
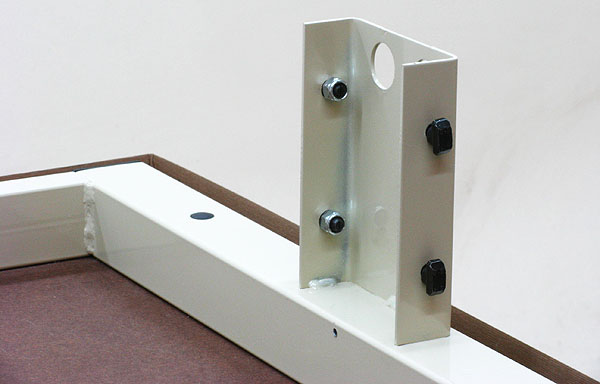
Note: How the preassembled bolts have "T-Shaped" heads. Position these heads as shown in the photo below. |
 |
| |
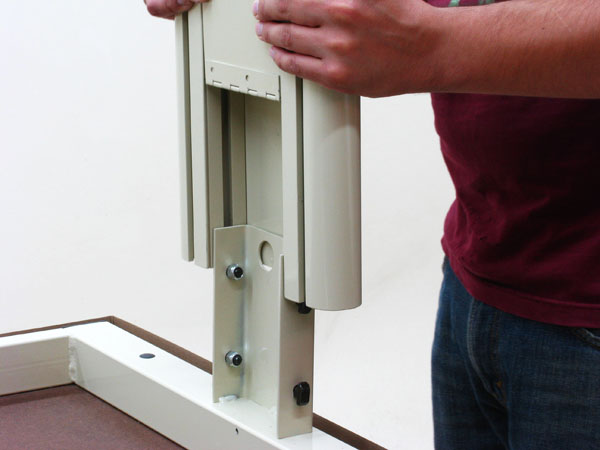
3. The preassembled leg sections each have a hinged door. Hold the door up while you lower the leg section over the top bracket so the fasteners slide into the inside slot on the solid aluminum leg extrusions. |
 |
| |
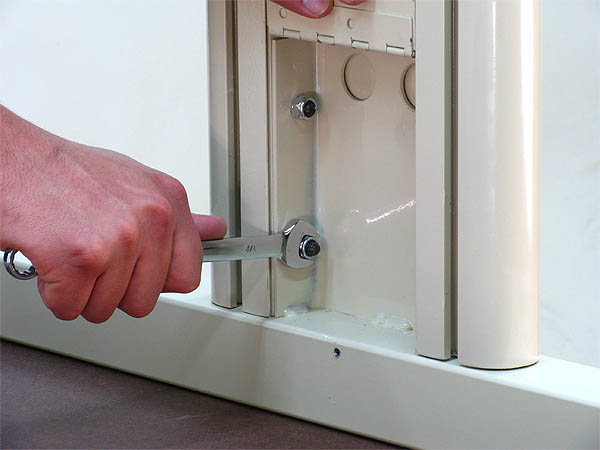
4 . Use the enclosed wrench to tighten the exposed nylock fasteners. The fasteners will first turn 1/4 turn and lock into the channel slots. Continue tightening the nuts until tight without allowing them to turn backwards. |
 |
| |
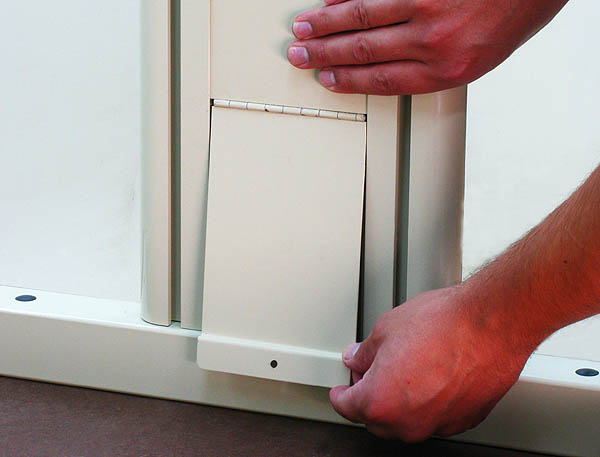
| 5. Close the hinged flap. |
 |
| |
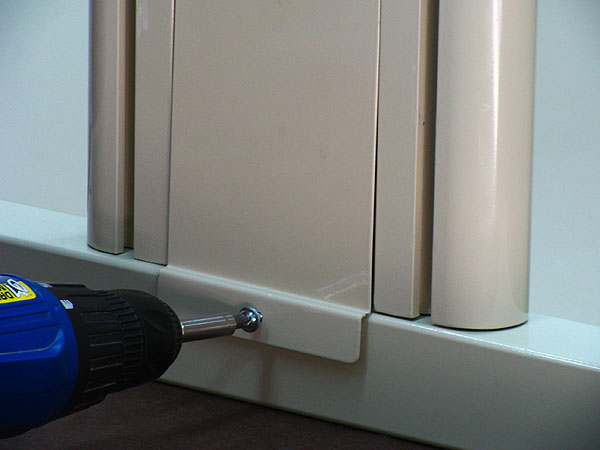
| Secure the door with one chrome head self drilling screw. |
 |
| |
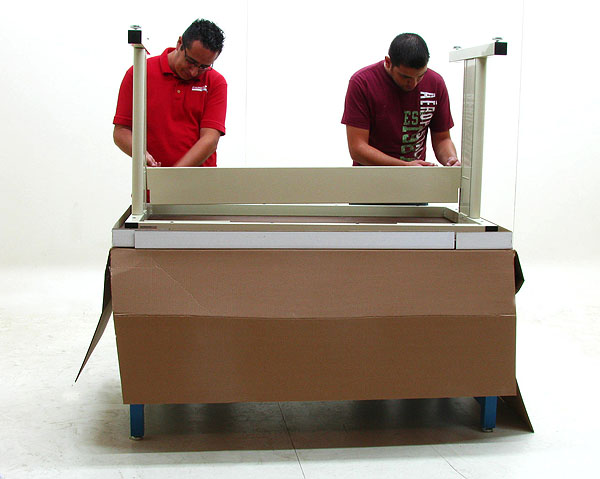
| 6. Push the legs apart slightly. Insert the "T-Head" screws preassembled into the modesty panel into the back slots so the flat side of the panel face away from the operator. |
|
| |
| Slide the panel surely to the underside of the top. |
 |
| |
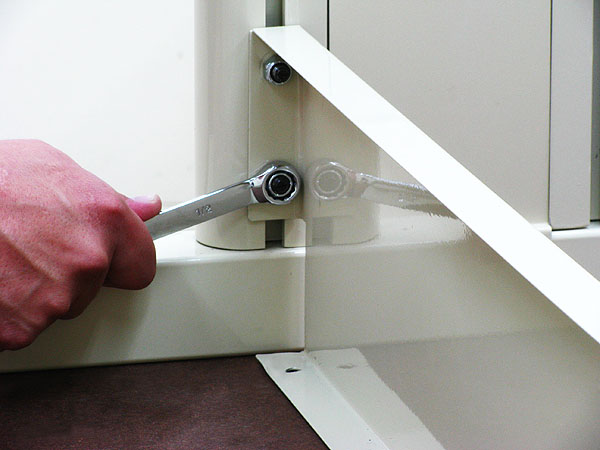
| Tighten the nuts. |
 |
| |
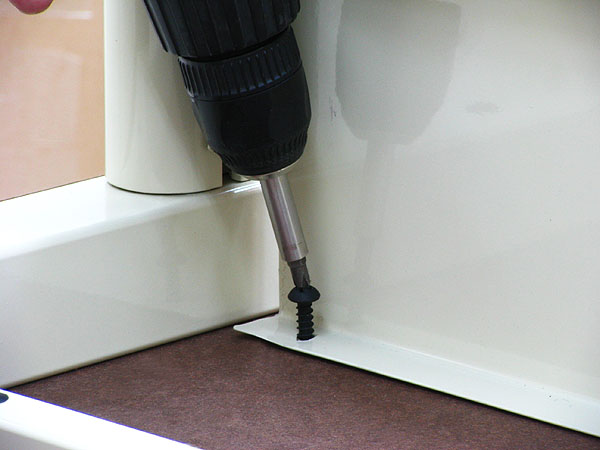
7. Using an electric screwdriver, insert the remaining fasteners to attach the modesty panel to the bottom of the top. |
 |
| |
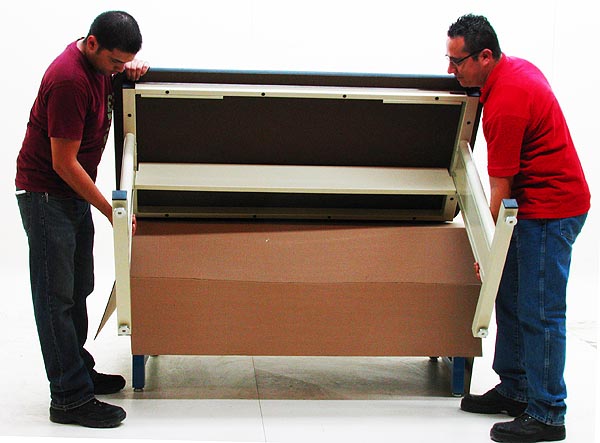
| 8. Have two people lift the table and place it on the floor. Dispose of the cardboard. |
 |
| |